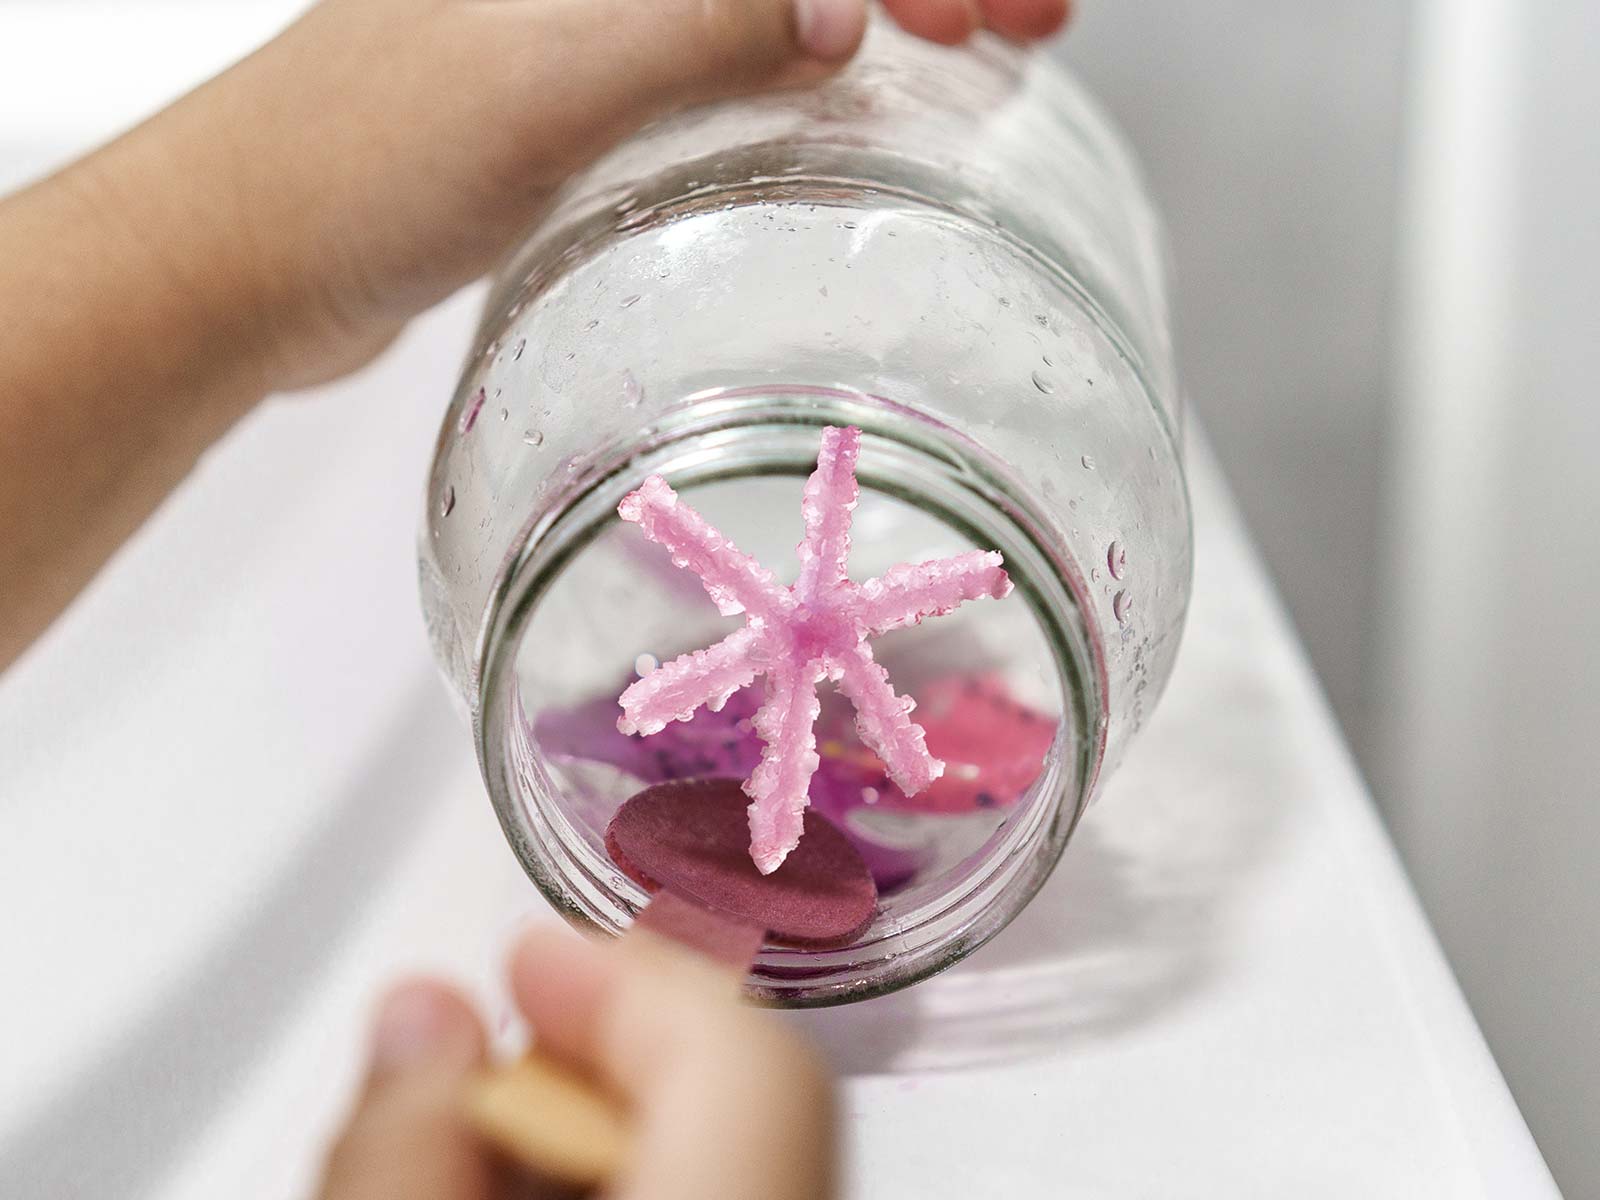
Borax crystal snowflakes are a fun and easy science experiment that you can do with your kids. They are also a great way to learn about crystals and see them grow. So get out your supplies and start making some snowflakes today!

Here’s what you’ll need:
- Borax
- Hot water
- Pipe cleaners
- Scissors
- A pencil
- A jar
- String or fishing line
- Food coloring (optional)
- Parental supervision
Instructions:
- Cut a pipe cleaner into three equal pieces.
- Twist the pieces together at their centers to form a snowflake shape.
- Tie a piece of string or fishing line to the end of one of the snowflake arms.
- Tie the other end of the string or fishing line to a pencil.
- Choose a jar that will fit your snowflake.
- Carefully fill the jar with very hot water.
- Add 3 tablespoons of borax powder to the water and stir until it is completely dissolved.
- If you want to add food coloring, add a few drops now.
- Lower the snowflake into the jar of borax solution.
- Adjust the height of the string or fishing line so that the snowflake is suspended in the solution and does not touch the bottom.
- Let the snowflake sit in the borax solution for 24 hours.
- After 24 hours, remove the snowflake from the solution and let it dry on a paper towel.
- Your snowflake is now ready to enjoy!
Tips:
- You can use different colors of food coloring to create different colored snowflakes.
- Use hot water. The hotter the water, the better the borax will dissolve.
- Stir the solution until the borax is completely dissolved. Any undissolved borax will make your crystals cloudy.
- Make sure the snowflake is completely submerged in the solution. If it’s not, the crystals won’t form properly.
Safety:
- Borax is a mild irritant, so it is important to wash your hands after handling it.
- Do not eat the borax solution or the snowflakes.
- Keep the borax solution out of reach of children and pets.
Enjoy!
