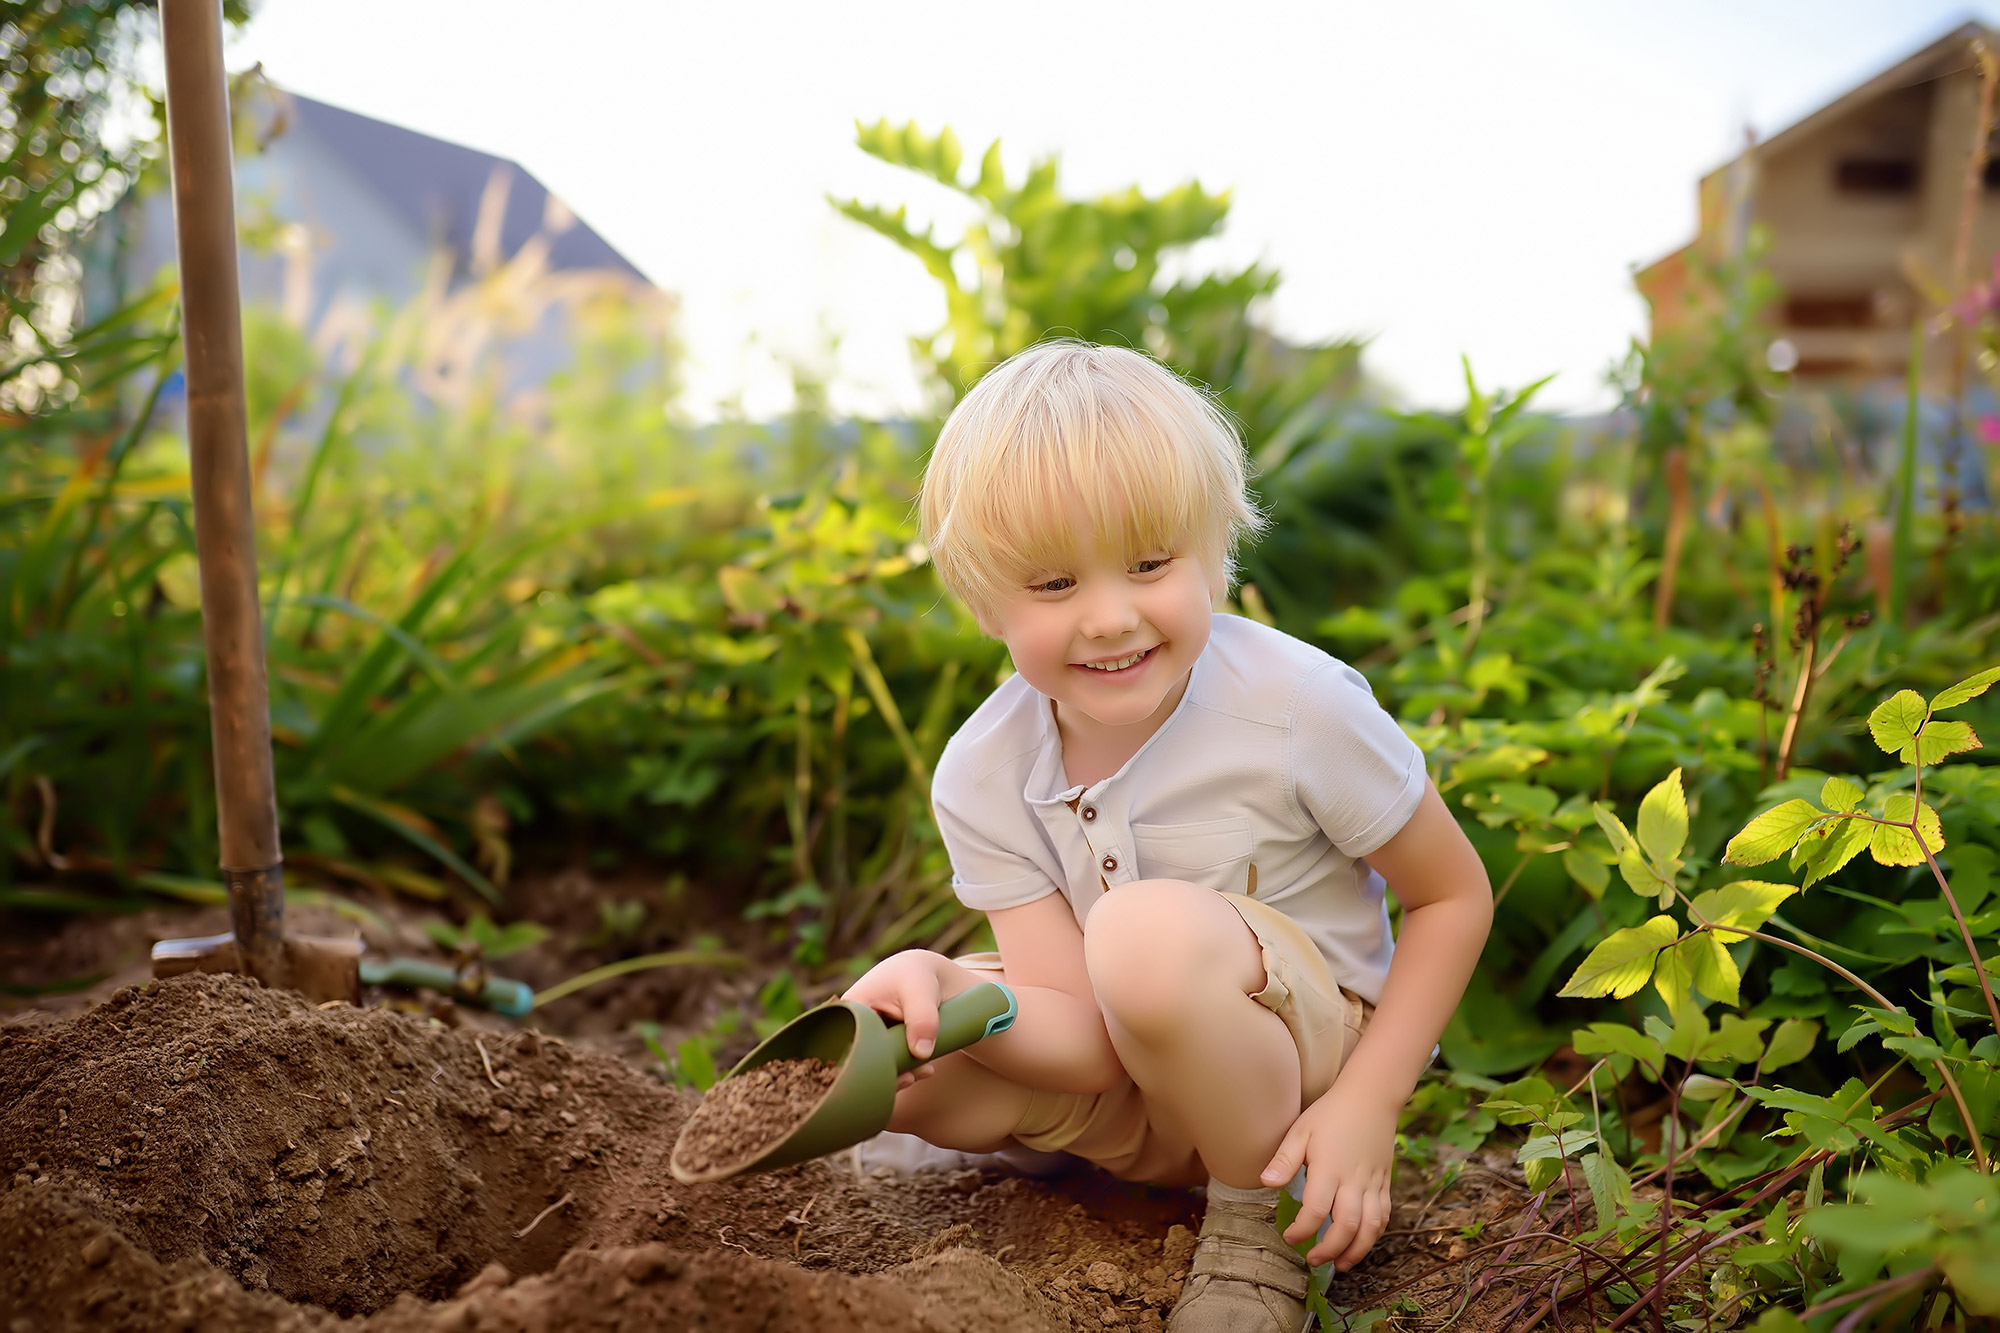
Does your kid love playing in sand? Bet they love dinosaurs too! Here is a fun project you can put together yourself to combine those two loves. The best thing is this activity develops fine motor skills, engages, and excites while your kid learns a thing or two about paleontology!
This simple-to-make dig can use real fossils, rocks, shells, or even little toys for your kid to discover and can be affordably made from materials you may already have around your house (also available at most supermarkets).
WHAT YOU WILL NEED:
½ cup plaster of Paris
½ cup water
½ cup sand
Mixing container (be ready to throw it away)
Mixing spoon or stick
Cinnamon (optional for color… the lovely smell is a bonus)
Plastic or foil container to set the mold
Fun things for your kid to discover (we’ll refer to them as “specimens”, because we love science!): rocks, pebbles, shells, sticks: Plastic dinosaurs, bones, gems, small toys.
WHAT YOUR KID WILL NEED ON EXCAVATION DAY:
Small hammer, spoon, small screwdriver, clay tool set (optional)
Old toothbrush, small paintbrush, cotton swabs
Magnifying glass
Safety goggles (optional)
Record sheet (optional)
PARENT STEPS FOR MAKING A SINGLE LAYER (INSTRUCTIONS FOR MULTIPLE LAYERS BELOW)
1. Mix plaster, water, and sand in the mixing container. Add more plaster for a harder “rock.” Add more sand for a softer “rock.” Add cinnamon, if desired, to change the color of the mixture. So squishy!
2. Pour half of the mixture into a plastic or foil container. Allow to set slightly. It will feel tacky, but your treasures should still sink in a bit.
3. Press in the specimens. Ideally, not too deep and not too shallow, unless you want to give your kid a visual cheat to get started!
4. Cover your specimens with the rest of the mixture.
5. Allow to dry and harden for about 3 hours. Have a glass of water (you deserve it)!
6. Turn the container over, and the mold should slide right out. Super cool. Your job is done!
WANT TO MAKE MULTIPLE LAYERS?
Note: Make one batch of mixture at a time; making all the plaster at once will result in some drying before you can pour it. You may want to use just a quarter cup of plaster, water, and sand for each layer.
1. Mix equal parts plaster, water, and sand in the mixing container. Add more plaster for a harder “rock.” Add more sand for a softer “rock.” Add cinnamon, if desired, to change the color of the mixture.
2. Pour mixture into a plastic or foil container. Allow to set slightly.
3. Press in some of the specimens.
4. Make another batch of the mixture. Extra awesome parent points for using varying amounts of cinnamon for each layer for different layer colorings!
5. Pour over specimens and allow to set slightly.
6. Press in more of the specimens. So many specimens.
7. Repeat steps 4–6 for a third layer (and a fourth layer if you’re feeling saucy).
8. Top off with a final layer of the mixture.
9. Allow to dry for several hours.
10. Turn the container over, and the mold should slide right out (go you)!
PRO KID TIPS FOR FOSSIL EXCAVATION
Depending on how determined your kid is, they may pull off a complete sweep in a single session or break their excavation apart into several sessions.
Equip the dig site with the tools your kid will use and provide a sheet of paper and a pencil for them to record what they find (in each layer or the location in the site, for example).
Have your kid help with the clean-up afterwards. It’s a great time to casually review what they found, how carefully paleontologists need to work, or anything else they have learned.
PRO PARENT TIPS
While this is an excellent indoor activity, there will be some cleanup afterward. It wouldn’t be the worst thing to take advantage of your backyard on a nice day to introduce a little sun-stimulated vitamin D and reduce sweeping! If it is a rainy day or too cold to be outside, we suggest putting down a baking sheet to contain the mess made while digging out the specimens.